Home Assistant Tuya IR Air Condition
The Tuya integration for Home Assistant Tuya IR Air Condition offers a solution to escape the “unsupported device”.
In this example, I am using an “Avatto S16Pro” as a remote controller. However, the “Tuya Smart IR Air Condition” integration should be compatible with all devices.
However, my experience with the Tuya integration tells me: “Find out before you buy an IR controller!”
The purpose of this article is to integrate the remote controller “usefully” into Home Assistant so that the air conditioning can also be controlled with automations etc.


Video: Home Assistant Tuya IR Air Condition
Language: 🇩🇪
☝️ Use YouTube subtitles for all languages.
Tuya or Smart Life app
It doesn’t matter which app you use now, as both are actually the same. Add your IR remote controller to the app as shown in the video.
Then follow the instructions for programming your remote control for the air conditioning system in the Tuya or Smart Life app.
Let’s start with the Tuya Developer Platform
You need the Tuya Developer Platform, let’s say, as an intermediary to Home Assistant.
Here you need an account. If you don’t have one yet, register with Tuya and then log in.
As a new user, you now need to create a new project under “Cloud” and link your Tuya or Smart Life app account.
You’ll find lots of articles on YouTube that go into this in detail if you can’t manage it.
This section would go beyond the scope of this article.
You need the values here:
“access_id” and “access_secret“
You can find this under “Cloud” -> “Overview” in the bottom left-hand area.
Customize the “configuration.yaml”
First, let’s customize the “configuration.yaml” file.
Add the following lines there, as shown in the video:
tuya_smart_ir_ac:
  access_id: "tuya_access_id_example"
  access_secret: "tuya_access_secret_example"
  country: "EU"
You must replace “tuya_access_id_example” and “tuya_access_secret_example” with the values that you have previously retrieved from the Tuya Developer Platform.
Then restart the Home Assistant.
Install Tuya Smart IR Air Condition under HACS
You can also find the following steps in detail in the video!
Download/install the “Tuya Smart IR Air Condition” repository now
Restart Home Assistant.
Add integration
Under “Settings” -> “Devices and services”, select “Add integration” and add the “Tuya Smart IR Air Condition” integration.
The tricky part, the configuration window
“infrared hub ID” and “Air conditioner ID” must be retrieved from the Tuya Developer Platform. Pay particular attention to the “Service API” details.
Check, as shown in the video, whether the “IoT Core” and “IR Controls Hub Open Service” services are installed. If these service APIs are not installed, you will not be able to retrieve the required IDs!
Then copy the “Device ID” of both devices, the “infrared hub ID” and the “Air conditioner ID”.
| infrared hub ID* | As shown in the video, get the value from the Tuya Developer Platform. |
| Air conditioner ID* | As shown in the video, get the value from the Tuya Developer Platform. |
| Air conditioner name* | Freely selectable name, for display in Home Assistant |
| Temperatur sensor | Include an additional temperature sensor. |
| Humidity sensor | Include an additional humidity sensor. |
| Minimum temperature* | Minimum temperature “that can be set on the AC. |
| Maximum temperature* | Maximum temperature “that can be set on the AC. |
| Steep Minimum temperature* | Temperature Single step switch in 1, 2, 5 degrees Celsius. |
* = Mandatory field
You can customize the rest of the form as shown in the video.
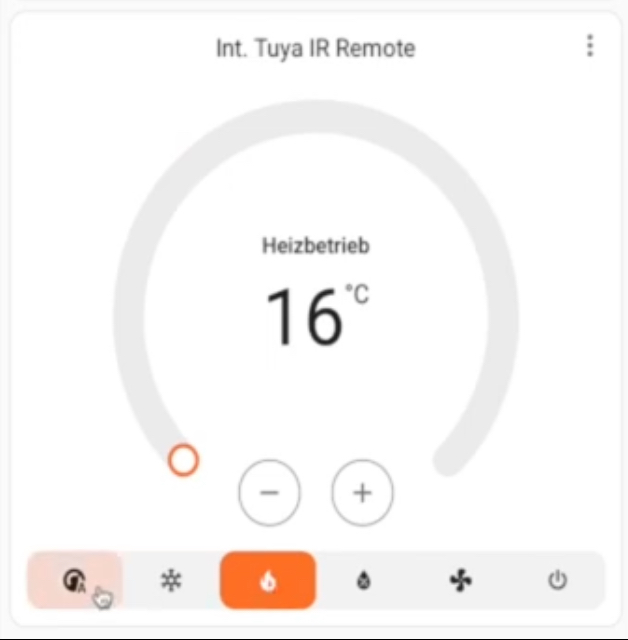
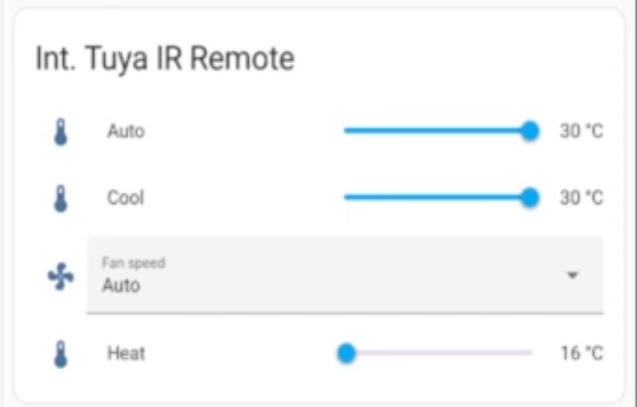
That’s it! That’s it already. Now you can add the new entities to your dashboard.
… and always stay cool 😎 😁😂
Link to support / donation for the channel
PayPal Link
Bank transfer, Bitcoin and Lightning
#Avatto #IRremoteControl #HA #HomeAssistant #s16 #s16pro #AirConditionerControl #Tuya #TuyaIntegration #TuyaDeveloperPlatform #AirConditioner #AirConditionerControl


